Chapter 1 – THE PELVIC TILTING POSES
Hints And Cautions
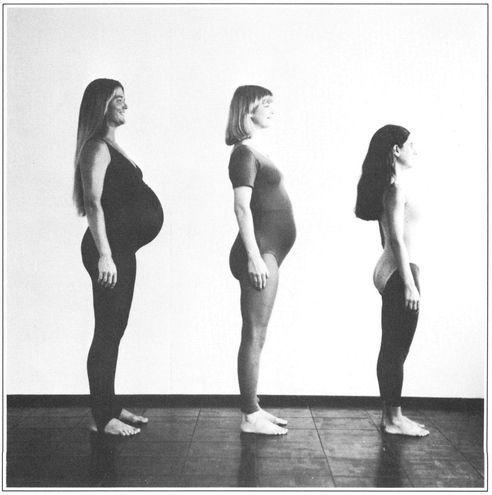
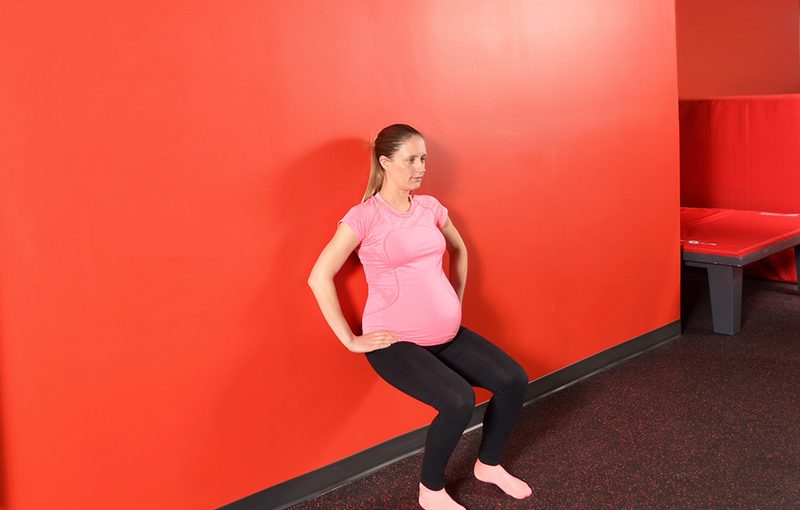
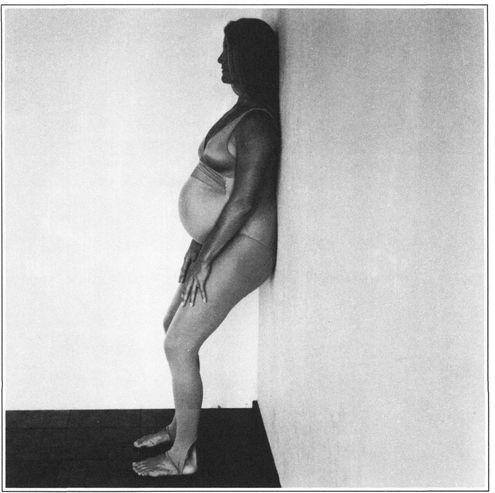
Basic Standing Posture
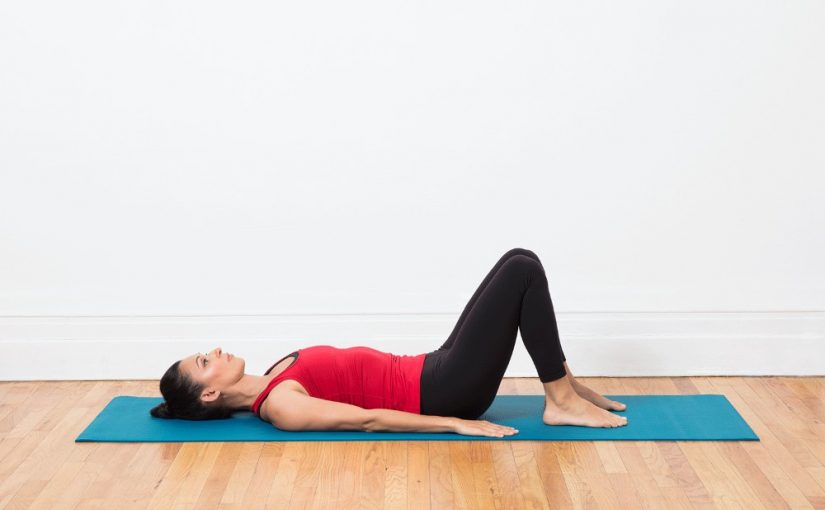
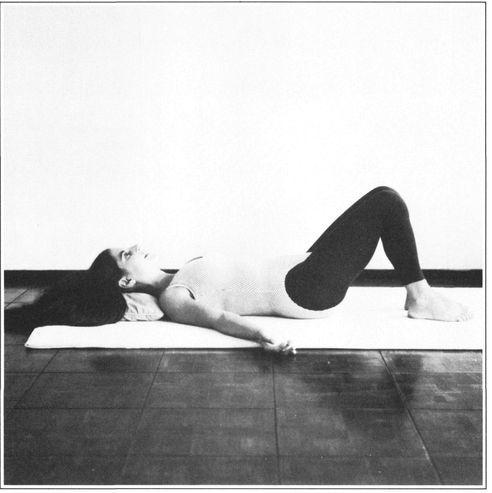
Reclining Pelvic Tilt
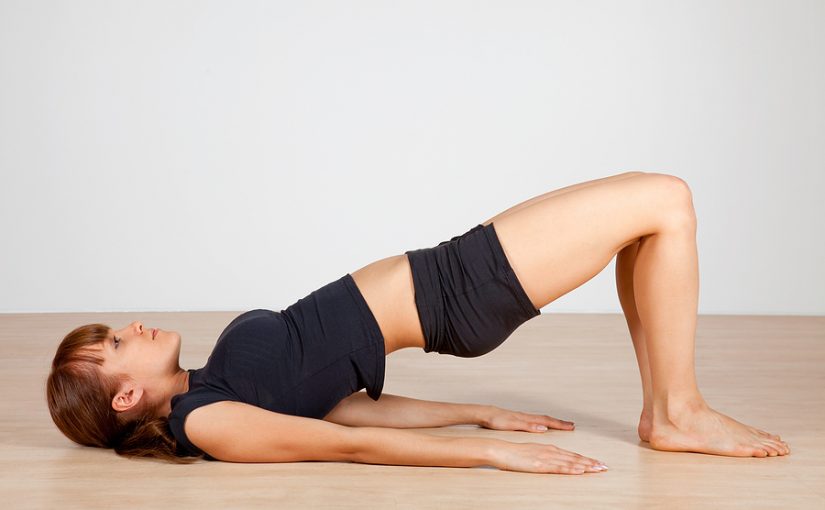
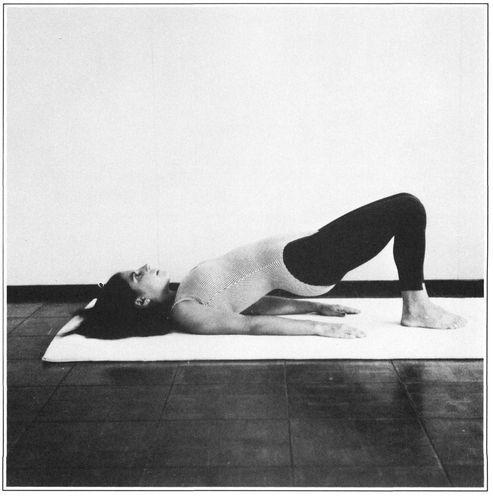
Bridge Pose
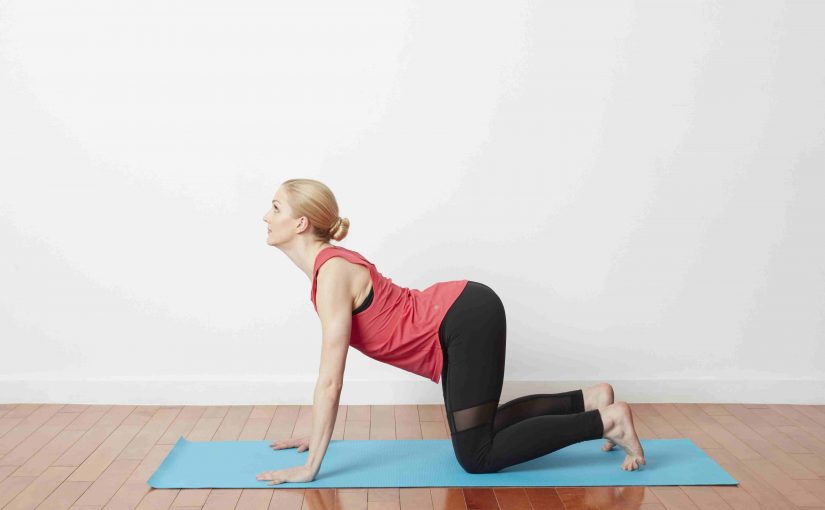
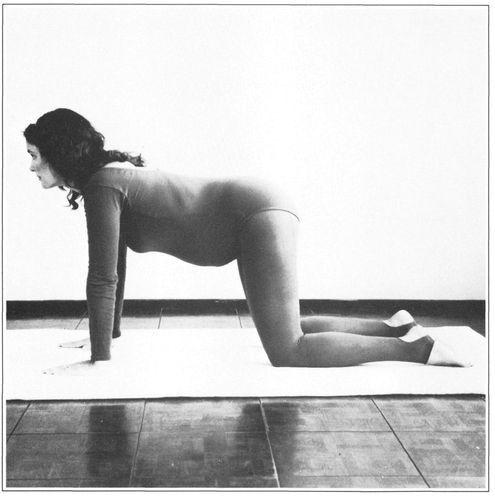
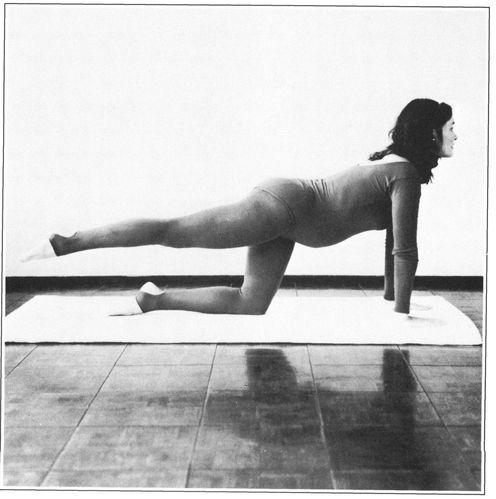
Cat Stretch
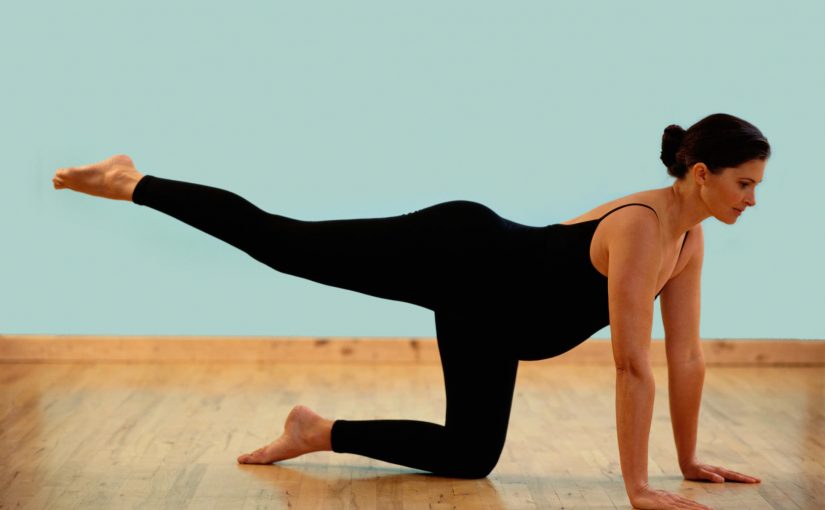
Cat Stretch With Leg Lift
Lower Back Stretch To Wall
Chapter 2 – THE SHOULDER STRETCHING AND CHEST OPENING POSES
Hints And Cautions
Shoulder Stretch With Chair
Forearms On Wall Shoulder Stretch
Shoulder Stretch On Counter
Shoulder Stretch Kneeling To Wall
Seated Shoulder Stretch
Standing Shoulder Stretch To Wall
Right Angle Pose To Wall
Downward Dog Pose With Chair
Downward Dog Pose
Chest And Shoulder Stretch With Chair
Chapter 3 – THE STANDING POSES
Hints And Cautions
Tree Pose
Eagle Pose
Alternate Leg Stretch With Chair
Standing Alternate Leg Stretch
Triangle Pose
Warrior II Pose To Wall
Warrior II Pose With Chair
Extended Warrior II Pose With Chair
Side Angle Pose To Wall
Side Angle Pose With Chair
Half Moon Pose With Wall
Warrior I Pose To Wall
Wide Leg Stretch To Wall
Head To Floor Wide Leg Stretch
Chapter 4 – THE FRONT HIP AND THIGH STRETCHING POSES
Hints And Cautions
Hero’s Pose
Hero’s Pose With Arms Overhead
Half Reclining Hero’s Pose
Reclining Hero Pose
Reclining Alternate Front Thigh Stretch
Standing Front Thigh Stretch With Chair
Kneeling Front Thigh Stretch With Chair
Kneeling Front Thigh Stretch
Intense Front Thigh Stretch To Wall
Seated Alternate Front Thigh Stretch
Alternate Front Thigh Stretch With Chair
Elevated Leg And Front Thigh Stretch
Chapter 5 – THE SQUATTING AND HIP STRETCHING POSES
Hints And Cautions
Half Squatting Pose To Wall
Supported Squatting Pose
Squatting Pose To Wall
Bound Angle Pose
Hip Stretch With Feet On Wall
Reclining Knee To Floor Pose
Reclining Shin To Chest Pose
Leg Over Leg Hip Stretch
Shoulder Stretches In Leg Over Leg Pose
Intense Hip Stretch
Chapter 6 – THE HAMSTRING, CALF, & INNER THIGH STRETCHING POSES
Hints And Cautions
Reclining Alternate Leg Hamstring Stretch
Reclining Alternate Leg To Side Stretch
Easy Hamstring Stretch In Chair
Hamstring Stretch With Heel On Chair
Seated Alternate Leg Stretch To Wall
Seated Alternate Leg Stretch With Chair
Seated Alternate Leg Stretch
Standing Hamstring Stretch To Wall
Seated Hamstring Stretch
Seated Hamstring Stretch With Chair
Seated Wide Leg Stretch To Wall
Seated Wide Leg Stretch With Chair
Wide Leg Stretch
Wide Leg Stretch With Forward Bend
Chapter 7 – THE TWISTING POSES
Hints And Cautions
Twisting Pose With Chair
Revolved Foot To Thigh Pose
Knee To Wall Twist
Wide Leg Stretch With Twist
Seated Bent Knee Twist
Chapter 8 – THE BREATHNG AWARENESS AND RELAXATION POSES
Hints And Cautions
Breathing Awareness Pose
Child’s Pose
Lower Back Relaxation Pose With Chair
Legs Up Wall Relaxation Pose
Back-Lying Relaxation Pose
Elevated Leg Side-Lying Pose
Side-Lying Relaxation Pose
Chapter 9 – THE POSTNATAL POSES
Hints And Cautions
Knee To Chest Lower Back Stretch
Elbow To Opposite Knee Curl-Up
Curl-Ups With Feet On Wall
Bridge Pose With Baby
Shoulder stand With Chair
Standing Hamstring Stretch With Chair
Elevated Downward Dog Pose
Seated Twist On Bench Or Chair
Kneeling Twist To Wall
Reclining Foot On Thigh Twist
Pelvic Tilt Relaxation Pose With Chair
Chest Opening Relaxation Pose
Reclining Wide Leg Pose To Wall
Reclining Bound Angle Pose